
How to Prevent Print Errors with Proper File Prep for Printing
Share
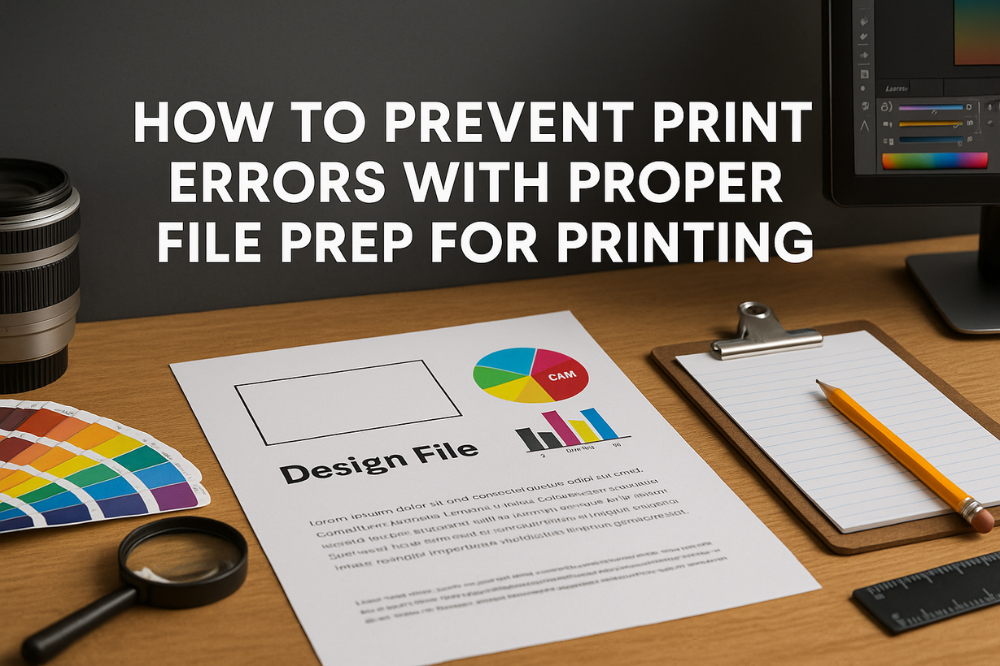
Whether you're printing brochures, flyers, booklets, or business cards, print errors can cost you time, money, and reputation. At ThePrinterly, we’ve seen it all—from cut-off logos and blurry images to unreadable fonts. The truth is, 90% of print errors stem from poor file prep for printing. Let’s change that.
Here’s your no-nonsense guide to prepping files for print like a pro—so you can avoid costly mistakes and get clean, crisp, professional results every time.
1. Understand the Difference Between Web and Print Files
First things first: web files are not print files. Your screen might make that JPEG look sharp, but in print, it can end up fuzzy and pixelated.
Key tips:
-
Always use 300 DPI (dots per inch) for print files.
-
Stick with CMYK color mode instead of RGB. Printers use CMYK to mix colors.
-
Export your files as PDF, AI, EPS, or TIFF—these formats preserve quality and layout.
2. Bleed, Trim, and Safe Zones – Know the Print Geometry
We’re not talking geometry class, but there is math involved.
-
Bleed: Add at least 0.125 inches (⅛") around your design to allow for minor cutting errors.
-
Trim line: This is where your final product gets cut.
-
Safe zone: Keep text and key elements at least 0.125 inches inside the trim line to ensure nothing important gets chopped off.
Ignoring these zones? Say hello to uneven borders and lost content.
3. Embed Your Fonts – Or Risk a Typeface Disaster
Ever sent your print file only to find your beautiful headline turned into Comic Sans? That’s a classic font issue.
What to do:
-
Embed or outline your fonts in the file.
-
If unsure, convert all text to outlines before submitting.
-
Avoid obscure fonts unless you’ve verified they’ll print correctly.
4. High-Resolution Images or Nothing
We get it—you found the perfect image online. But if it's 72 DPI, it won’t survive in print.
-
Use original photos or high-res stock imagery at 300 DPI or higher.
-
Avoid screenshots, WhatsApp-shared logos, or Instagram exports.
-
When in doubt, don’t stretch images. Resize proportionally.
5. Avoid Transparency and Overprint Issues
Transparencies (like drop shadows and glows) might look great on-screen but can create havoc during printing.
How to avoid issues:
-
Flatten transparencies before exporting.
-
Use the “Overprint Preview” in your design software to see potential issues.
-
Always request a print-ready proof if unsure.
6. Double-Check Before You Hit Send
This one’s simple: proofread like your print job depends on it—because it does.
Checklist:
-
Spelling and grammar errors
-
Image alignment and resolution
-
Color consistency
-
Bleed, trim, and safe margins
-
Font embedding
-
Correct file format
Need a shortcut? Ask your team to review it too. A second pair of eyes can catch what yours miss.
7. Let the Printer Help You (Yes, That’s Us)
At Printerly, we don’t just take your files and run—we want your prints to look their best. If you're unsure whether your file is ready, our team can do a quick file check or offer guidance.
Plus, if you’re printing in bulk, we strongly recommend showing a sample file first before going all in.
Final Thoughts: Quality Prints Begin with Quality Prep
You don’t need to be a graphic designer to get flawless print results—but you do need to follow some best practices. Proper file prep for printing is the single most effective way to prevent print errors and save both money and reputation.
Ready to print? Check out our bulk printing solutions at ThePrinterly.com—because great printing starts with precision, and we’re here to help every step of the way.